Minimal YouTube and the Locality of Behaviour Stack
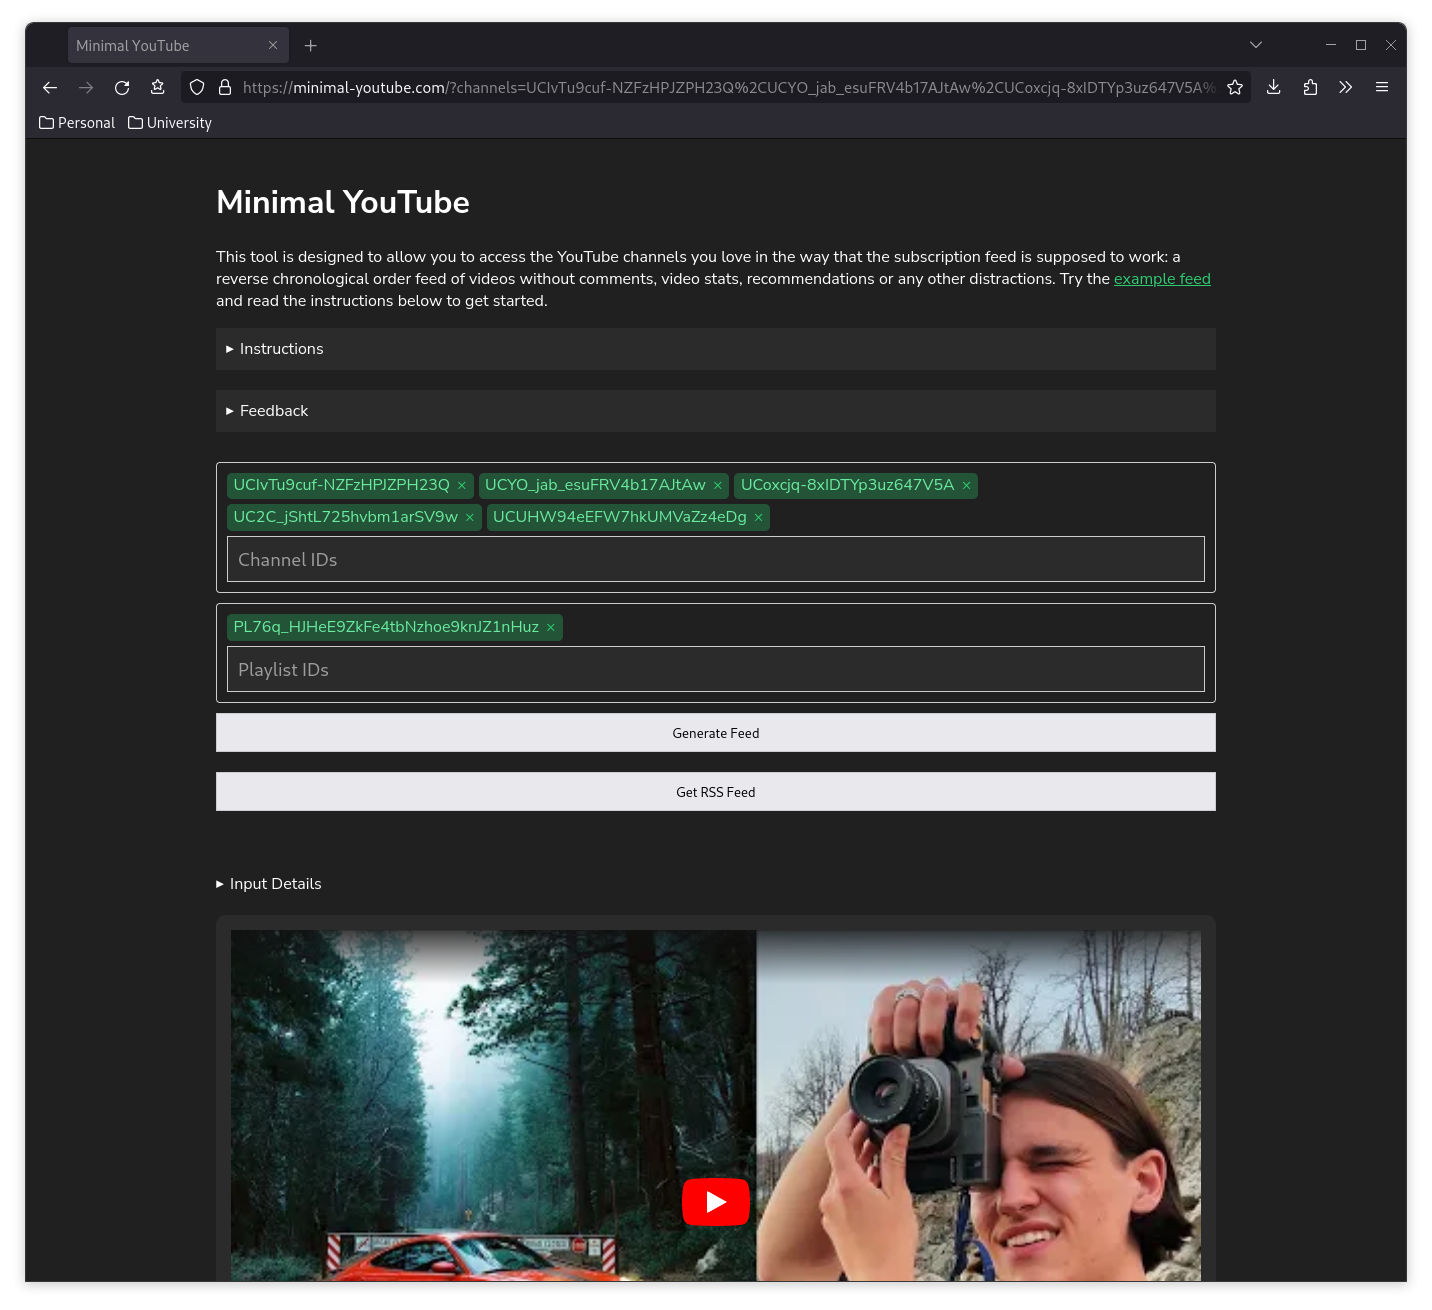
For the past few weeks I have been on and off working on a web app called minimal-youtube. It presents an interface to YouTube which allows you to get a reverse chronological order list of videos from channels you are interested in without the distractions of recommendations, comments, and video stats. It will even generate an RSS feed with embedded videos, if desired.
This post is not about the app though, it's about the technologies used to build the app.
I hate web development. I find JavaScript to be unintelligible nonsense and CSS to be messy and ugly. Up until recently, this has meant that any time I had an idea for a web app (that is, a website which has any functionality beyond serving web pages), I quickly gave up on it and realised that while I may have wanted the functionality of the app, I didn't want the pain of actually building it. The only exception to this was my notes website which does have a small amount of JavaScript, but only for basic functionality or glue code to get the WASM module up and running.
This all changed with the discovery of a few libraries, two in particular, that have empowered me to do web development in a sane, sensible, and dare I say it pleasant way. They are, htmx and css-scope-inline. The former is less than 20 kilobytes of dependency free JavaScript, while the latter is barely more than a snippet, at 16 lines unminified.
In short, these tools allow all of the front end code of my website to be written into the HTML itself, at the point where it applies (what the htmx creator calls locality of behaviour) without any JavaScript, complicated build system, or external CSS files or libraries.
Any front end web developers are now probably thinking "oh great, another back end dev who thinks they can do it all but refuses to write JavaScript." You'd be right, but I claim that hypermedia based applications (which is what htmx is) are suitable in the vast majority of use cases, and when they are suitable they are faster, simpler, easier to reason about, and they empower people to build apps without having to learn how to use a giant framework. Web development doesn't have to be complicated, but our industry has made it so. As such, I think front end developers should also know what their competition is here.
I am not claiming that this app is a hugely complicated piece of software, it's not. However the fact that I was able to create this as someone with little to no experience in front end web development and end up with a codebase of less than 200 lines of Rust and one simple HTML page (including all the CSS and JavaScript) should make clear the threat that is this way of doing web development.
So, with that very long introduction out of the way, the goal of this blog post is to, in a short example, demonstrate the power of these two tools that I have chosen in the hopes of empowering others like me, who hate front end web development, to build something useful that they can be proud of.
The core part of minimal-youtube is a form which takes as input a list of channel IDs and playlist IDs, and upon clicking the submit button, updates the page to show a list of YouTube videos. Let's walk through what building something like this would look like from the start. I will skip over many of the particular details, and just try to illustrate how on a high level this "locality of behaviour" mindset is applied to web development.
Suppose we have the following HTML form for handling the input of playlists and channels.
<form>
  <input
    type="text"
    name="channels"
    value="{{channels}}"
  <input
    type="text"
    name="playlists"
    value="{{playlists}}"
  >
  <input
    id="generate-feed-button"
    type="submit"
    value="Generate Feed"
  />
</form>
Notice that the value fields have double braces because that is the syntax used by the templating engine I am using. That is, when the home page is requested, the server replaces these values with the URL query parameters before serving the page.
Here is where we introduce some htmx. In order to determine what happens when we click the submit button, we add some fields to our form, along with a new location for the list of videos to end up.
<form
  hx-swap="innerHtml"
  hx-target="#videos"
  hx-get="/api/videos-list"
>
  <input
    type="text"
    name="channels"
    value="{{channels}}"
  <input
    type="text"
    name="playlists"
    value="{{playlists}}"
  >
  <input
    id="generate-feed-button"
    type="submit"
    value="Generate Feed"
  />
</form>
<div id="videos"><!-- HTMX Replaced --></div>
Now, all we have to do is have our server respond with the HTML for the video list whenever it receives a request at /api/videos-list and the div tag at the bottom will automatically be filled. Yes, it is really that simple. The hx-swap field tells htmx to swap the inner HTML of the div, rather than the whole div itself, hx-target tells htmx which div we are sending the response HTML to, and the hx-get field tells htmx where to fetch the new HTML from, and that it should make a get request. All the form fields will automatically be query parameters to the request that htmx makes.
What if we want to change the trigger for the videos loading? Well in my case, I want the videos to load both on clicking the submit button, and on the initial load of the page. This is as simple as specifying the hx-trigger attribute.
<form
  hx-swap="innerHtml"
  hx-target="#videos"
  hx-get="/api/videos-list"
  hx-trigger="load,submit"
>
  <input
    type="text"
    name="channels"
    value="{{channels}}"
  <input
    type="text"
    name="playlists"
    value="{{playlists}}"
  >
  <input
    id="generate-feed-button"
    type="submit"
    value="Generate Feed"
  />
</form>
<div id="videos"><!-- HTMX Replaced --></div>
How about indicating to the user that the page is loading? This is built in to htmx as well with the hx-indicator attribute.
<form
  hx-swap="innerHtml"
  hx-target="#videos"
  hx-get="/api/videos-list"
  hx-trigger="load,submit"
  hx-indicator="#videos-indicator"
>
  <input
    type="text"
    name="channels"
    value="{{channels}}"
  <input
    type="text"
    name="playlists"
    value="{{playlists}}"
  >
  <input
    id="generate-feed-button"
    type="submit"
    value="Generate Feed"
  />
</form>
<div id="videos-indicator" class="htmx-indicator" >
  Loading...
</div>
<div id="videos"><!-- HTMX Replaced --></div>
What htmx does here, is add the class htmx-request to our indicator div element while the request is being processed. We can then just use different CSS in that case to display the loading text accordingly.
This is the point at which we get to play around with the other library that this post is about: css-scope-inline.
The problem with inline css is that it doesn't have all the same features of full CSS like hover or @media, and the fact that it often results in a high level of duplication when similar elements are put together. The problem with a separate stylesheet though is that it becomes very difficult to discern what the website is supposed to look like from where the content of the webpage is. It also results in annoying problems with CSS effecting elements in unexpected ways because of this separation. The problem with tools like tailwindcss is that they result in extremely messy HTML, require the import of a huge library, and anything which is not easy to do is much harder to Google than the default CSS way.
css-scope-inline is a very small library that solves this library by allowing a feature that should be built in to HTML from the start: the ability to put style tags anywhere in your document. For instance, to style our loading text differently when loading is occurring we do the following.
<form
  hx-swap="innerHtml"
  hx-target="#videos"
  hx-get="/api/videos-list"
  hx-trigger="load,submit"
  hx-indicator="#videos-indicator"
>
  <input
    type="text"
    name="channels"
    value="{{channels}}"
  <input
    type="text"
    name="playlists"
    value="{{playlists}}"
  >
  <input
    id="generate-feed-button"
    type="submit"
    value="Generate Feed"
  />
</form>
<div id="videos-indicator" class="htmx-indicator" >
  <style>
    me {
      opacity: 0;
      text-align: center;
    }
    me.htmx-request {
      opacity: 1;
      transition: opacity 100ms ease-in;
    }
  </style>
  Loading...
</div>
<div id="videos"><!-- HTMX Replaced --></div>
me is a keyword that specifies the element in which the style tag appears.
One other highly desirable feature of our website would be to handle the error when the input doesn't conform to some rules. We can always just return some error text in the HTML output, however it helps to keep the error list separate for our use case. To do this, we just, in the error case, have the server return the header HX-Retarget header with a value of #errors and then create a div with an ID of errors. htmx will then use this as the target for swapping the HTML instead of the one we originally specified. However, it is desirable to clear the error output each time so that when the request succeeds, the error is no longer displayed. For this we just use the one of the hx-on attributes. Our resulting HTML will look like this.
<form
  hx-swap="innerHtml"
  hx-target="#videos"
  hx-get="/api/videos-list"
  hx-trigger="load,submit"
  hx-indicator="#videos-indicator"
  hx-on::before-request="document.getElementById('errors').innerHTML = ''"
>
  <input
    type="text"
    name="channels"
    value="{{channels}}"
  <input
    type="text"
    name="playlists"
    value="{{playlists}}"
  >
  <input
    id="generate-feed-button"
    type="submit"
    value="Generate Feed"
  />
</form>
<div id="videos-indicator" class="htmx-indicator" >
  <style>
    me {
      opacity: 0;
      text-align: center;
    }
    me.htmx-request {
      opacity: 1;
      transition: opacity 100ms ease-in;
    }
  </style>
  Loading...
</div>
<div id="errors"><!-- HTMX Replaced --></div>
<div id="videos"><!-- HTMX Replaced --></div>
There is one final really useful feature of htmx being used within this form. The request returns a header HX-Push-Url which specifies the same URL of the original page but with some query parameters. htmx then changes the URL, and updates the browser history accordingly. This allows the page with the given inputs to be bookmarked and easily returned to (remember we started by pre-populating the forms based on the URL parameters).
To be honest, that makes up most of the core functionality of the website, and this shows how easy building something like this can be.
This example is only one simple possible use case for htmx. The official webpage has many great examples including click to edit, infinite scrolling and hierarchical picklists. There is no question that some web apps simply cannot be built using a hypermedia approach only, Google Maps for example. However I contend that the vast majority of web apps which use vastly overcomplicated JavaScript frameworks, including apps like Twitter, Twitch, Jira, YouTube and Microsoft Teams, could be built in a simpler, faster, and more reliable way by using a hypermedia based approach.
As for css-scope-inline, it is the only way I styled the website. That is, the main HTML page describes its functionality through htmx attributes and its look through style tags littered all throughout, right next to the elements they are styling. This should now more fully illustrate what is meant by the term "locality of behaviour"; as much of the way the website looks and behaves as can be possibly included together, in the same place, is.
For me this is just the start of experimenting with these libraries and this way of building websites, but as a proof of concept, building this app has made me feel empowered to do all sorts of things with web development without the need to write JavaScript, and that leaves me more optimistic about the state of web development than I have ever been.